Shelves are one of the most functional and aesthetic elements of home organization.
Whether you need additional storage, a display area for decorations, or a way to declutter your space, custom shelves are an excellent DIY project.
Instead of purchasing pre-made shelves that may not fit your exact needs, making your own custom shelves gives you complete control over size, style, and material.
Additionally, DIY shelving can be a budget-friendly alternative to expensive store-bought options.
With the right tools, materials, and a step-by-step approach, you can build shelves that complement your space perfectly.
This guide will take you through the process in five easy steps, ensuring you have all the necessary knowledge to create sturdy and stylish shelves.
Whether you are a beginner or an experienced DIY enthusiast, follow this detailed guide to design, build, and install your custom shelves like a pro.
Step 1: Plan and Measure
Why Planning is Crucial
Before you start cutting wood or gathering tools, the first and most critical step is planning.
Proper planning ensures that your shelves will fit your space, hold the intended weight, and match your décor.
Skipping this step can lead to poorly fitting shelves, wasted materials, and frustration. Take the time to assess your needs and create a clear plan for your project.
Measure the Space
Begin by measuring the area where you want to install the shelves. Use a measuring tape to determine the width, height, and depth.
Consider factors such as:
- The size of the items you plan to store or display.
- The spacing between each shelf to accommodate various items.
- The total weight your shelves need to support.
If you’re installing shelves in a closet, kitchen, or bathroom, take note of any obstructions such as pipes, electrical outlets, or molding that might affect installation.
Choose a Shelf Design
There are various types of shelves you can create, depending on your needs and style preferences:
- Floating Shelves – Mounted directly on the wall without visible brackets for a modern look.
- Bracketed Shelves – Supported by metal or wooden brackets, offering classic support.
- Built-in Shelves – Custom-made to fit into an alcove or wall recess for a seamless look.
- Freestanding Shelves – Ideal for bookcases and open shelving units.
Sketch out a rough design, including the dimensions and type of wood you plan to use. Having a visual reference will help guide you through the construction process.
Step 2: Gather Materials and Tools
Essential Materials
Once you’ve finalized your shelf design, it’s time to gather the necessary materials.
The type of wood and hardware you choose will depend on your budget, aesthetic preference, and durability needs.
Common materials include:
- Wood Planks: Plywood, MDF (medium-density fiberboard), or solid wood such as pine, oak, or maple.
- Brackets (if needed): Metal or wood brackets for added support.
- Screws and Wall Anchors: Ensure secure wall attachment.
- Wood Glue: Provides additional stability.
- Paint, Stain, or Sealer: Enhances durability and appearance.
Necessary Tools
Having the right tools makes the process easier and ensures precise results.
Gather the following tools before starting:
- Measuring Tape
- Saw (Hand Saw, Circular Saw, or Jigsaw)
- Drill and Screwdriver
- Sandpaper or Electric Sander
- Level
- Paintbrush or Foam Roller
Double-check that you have all the tools and materials needed before starting to avoid interruptions during construction.
Step 3: Cut and Sand the Wood
Cut the Wood to Size
Using your measurements, mark the wood planks where cuts need to be made.
A circular saw or jigsaw will help make clean and precise cuts.
If you don’t own a saw, many hardware stores offer cutting services.
Make sure to:
- Cut all shelves evenly for consistency.
- Mark the wood carefully to avoid measurement errors.
- Wear safety goggles and gloves when using power tools.
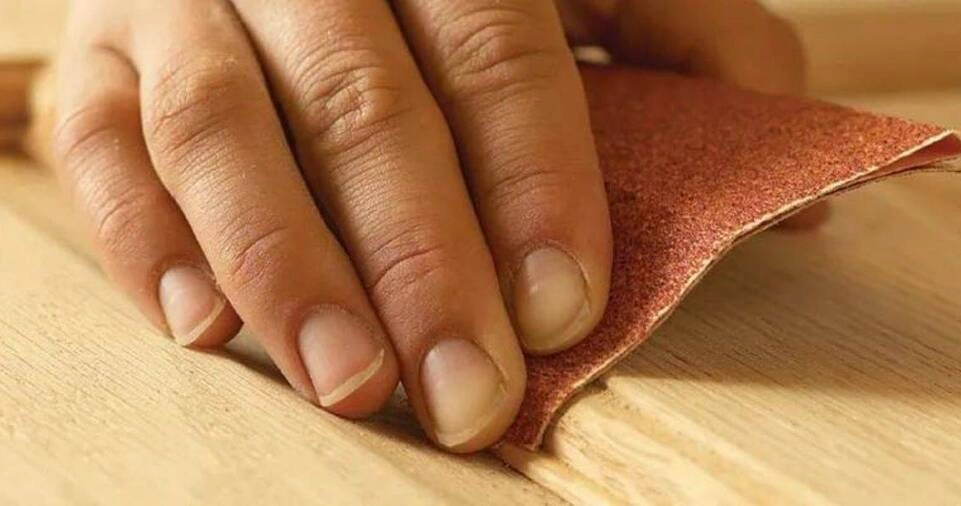
Smooth the Surface
After cutting, sand the edges and surfaces of the wood using sandpaper or an electric sander.
This step prevents splinters and creates a smooth surface for painting or staining. If you prefer rounded or decorative edges, use a router to shape the edges accordingly.
Step 4: Assemble and Finish
Assemble the Shelves
If you are building freestanding shelves, start by assembling the frame before attaching the shelves. Use wood glue for added strength and secure the pieces together with screws or nails.
For floating or bracketed shelves:
- Attach the brackets to the wall first.
- Place the shelf on top and secure it with screws.
Paint or Stain the Shelves
To give your shelves a professional finish, apply paint, stain, or sealant.
If you are using natural wood, a clear sealer can enhance its grain. For a modern look, opt for bold paint colors or a matte finish.
Tips for Finishing:
- Apply at least two coats for a durable finish.
- Allow each coat to dry before applying the next.
- Sand lightly between coats for a smooth surface.
Step 5: Install and Enjoy
Mount the Shelves
Once the shelves are finished, it’s time to install them.
If you’re mounting them on a wall, use a level to mark where the brackets or wall anchors should go.
Secure the brackets with screws and ensure they are level before placing the shelf on top.
Arrange Your Items
Now that your shelves are installed, organize your items.
Whether you use them for books, decorations, or kitchenware, custom shelves add both functionality and style to any space.
ALSO READ: How to Build a Cozy Outdoor Living Space
Final Thoughts
Building your own custom shelves is a rewarding and practical DIY project.
By following these five steps—planning, gathering materials, cutting, assembling, and installing—you can create shelves that perfectly suit your space and needs.
Whether you’re looking to enhance your home’s aesthetics or add more storage, custom shelves are an excellent solution.
Start your DIY project today and enjoy the satisfaction of crafting your own custom shelves!